How to contribute
1. Getting APSIM source code
Create a GitHub Account
The APSIM source code is located on GitHub so you will need to have a GitHub login if you want to contribute new features or modifications to the APSIM repository.
To create an account head to Github.
2. Making and getting changes
Download and install Git
NOTE: This is only required if you choose not to use Fork for version control.
Git is used to get the APSIM source code and to keep it up to date.
You can download git here.
Cloning the repository
The first thing to do is to clone the APSIMInitiative/ApsimX repository. This can be done by using a command line terminal to navigate to the directory you want to download the source code to and run the command:
git clone https://github.com/APSIMInitiative/ApsimX.git
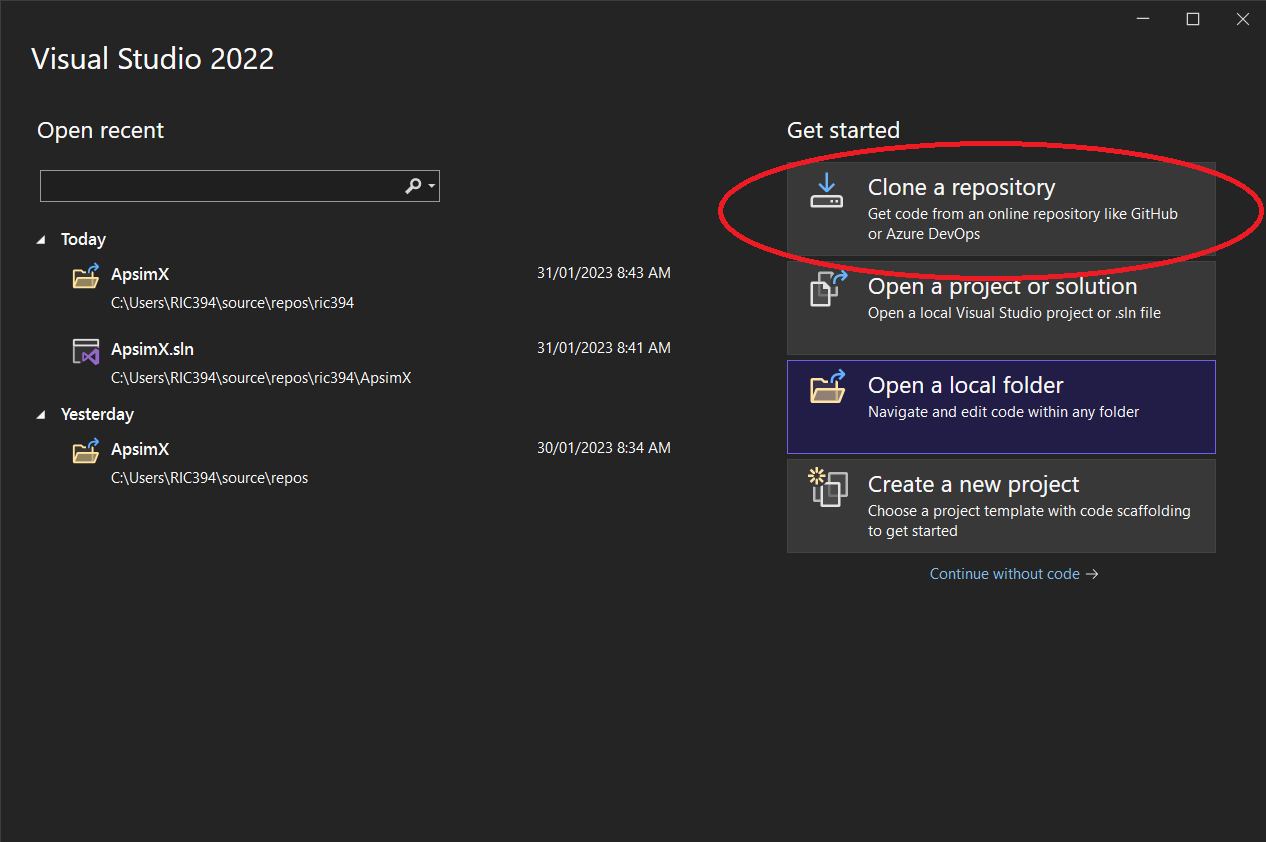
Alternatively, you can use Visual Studio to clone the repository from the start screen
It is best practice to fork(copy) the APSIM repository and push changes to this before submitting changes to the master version of APSIM.
See “To Create a Fork” section below.
Using Git to make changes
Instructions on how to use Git to make and submit changes can be found here
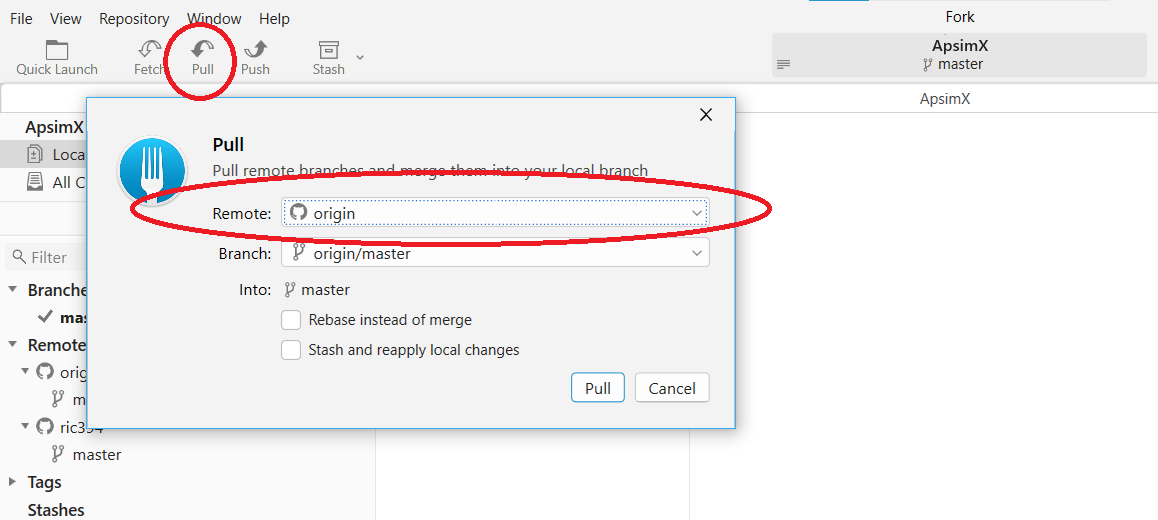
A good practice is to always pull changes from the master APSIM repository before starting any new work. This is important to avoid any problems when it comes time to submit your changes.
Doing this will ensure you have the most up to date version of the APSIM source files.
Commiting changes to your local repository
If you have files that you have added or modified, you can commit them to git. This process of adding commits keeps track of your progress as you work on files in APSIM.
Commits also create a transparent history of your work that others can follow to understand what you’ve done and why. Each commit has an associated commit message, which is a description explaining why a particular change was made. Furthermore, each commit is considered a separate unit of change. This lets you roll back changes if a bug is found, or if you decide to head in a different direction.
Commit messages are important, especially since git tracks your changes and then displays them as commits once they’re pushed to the server. By writing clear commit messages, you can make it easier for other people to follow along and provide feedback.
Commits are local to your computer only until you do a push to a remote repository.
Committing using Fork
To view the changes you’ve made that are ready to be committed:
- Select Local Changes.
- Next highlight any files in the unstaged list that you would like to commit and click ‘stage’.
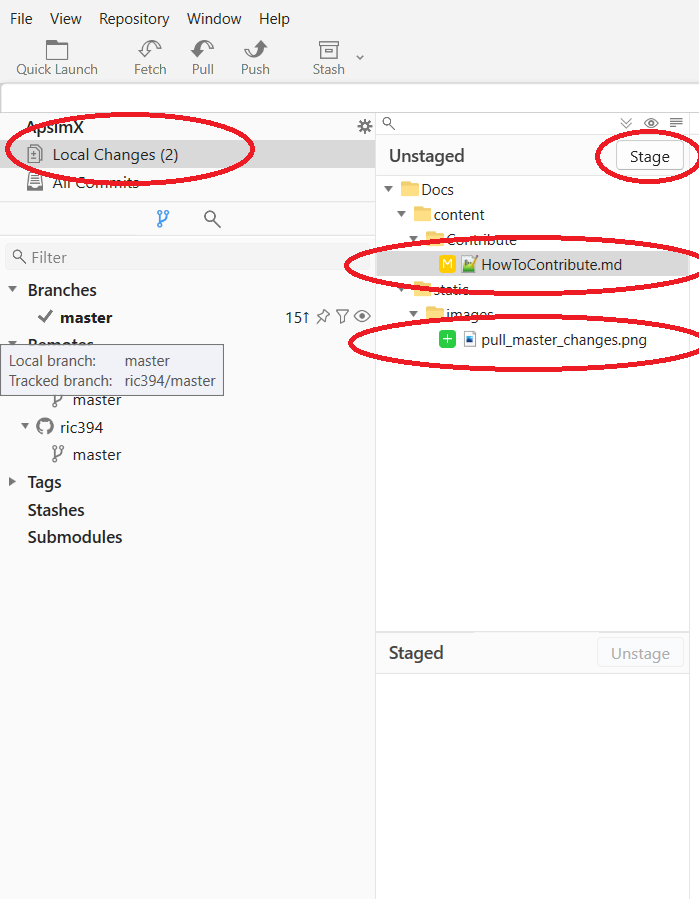
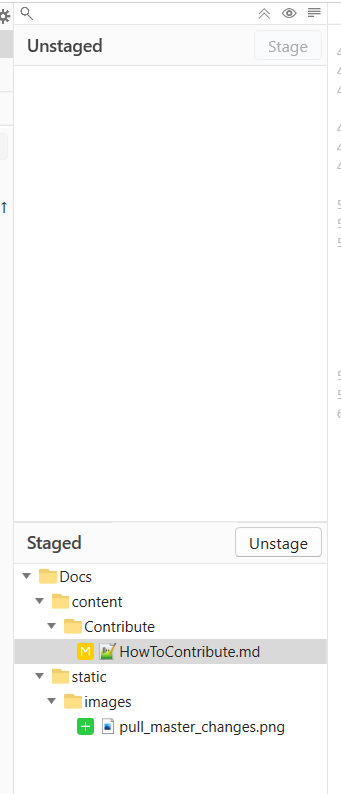
- The files will then move to the ‘Staged’ section.
- Next include a ‘Commit Subject’ and detailed ‘Description’ describing the changes you’ve made. This will benefit anyone reviewing your changes.
- To commit the changes click ‘confirm’.

Committing using the command line interface
To list new/modified files use git status
To view the changes from the previous commit, use git diff
To undo changes which you don’t want to keep, use git checkout ModifiedFile.txt
Before you commit your changes you must first add any new or modified files to the index.
git add ModifiedFile.txt
To remove a file from the index, use the reset command:
git reset ModifiedFile.txt
To perform the commit:
git commit -m "Commit message"
For additional options/help, use git help commit or man git
Working on Apsim
To see how to begin working on APSIM for your unique operating system see Compile Section.
An option for working on APSIM is to use Visual Studio 2022. You can be download it here.
3. Contributing your changes
You can’t push directly to the main ApsimX repository. Instead, you need to push to your remote fork (copy) of ApsimX.
To create a fork:
- Open a web browser, go to the APSIM github page and click on the fork link in the top right hand corner of the repository on GitHub.
- Clicking this will create a copy of the APSIM repository into your GitHub account.

Once you’ve done this you need to add your GitHub ‘remote’ to your git client. We recommend Fork. You can download it here
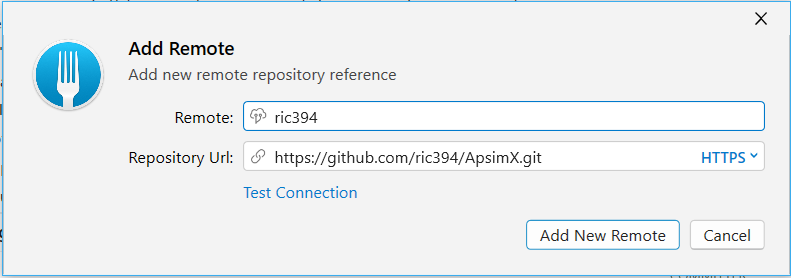
In the screenshot below, right click on ‘Remotes’ in the tree, click ‘Add Remote’ and fill in a name for your remote (usually your name or your github name) and the URL for the ApsimX repo. Mine looks like:
Alternatively, you can add this as your remote repository by navigating to your APSIM project location on your pc and using the command in a terminal:
git remote add https://github.com/ric394/ApsimX.gitNote: replace “ric394” in the above command with your personal GitHub profile username.
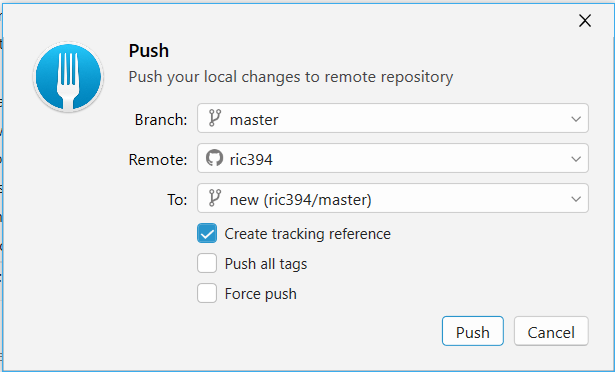
You can then push to your remote (rather than origin). Click push and change ‘remote’ drop down to your newly created one. Mine looks like:
Alternatively, you can push to your remote repository by navigating to your local APSIM project directory and use the command below in a terminal:
git push ric394 master- replace “ric394” with your remote repository name.
- replace “master” with the branch name you’d like to push the changes to.
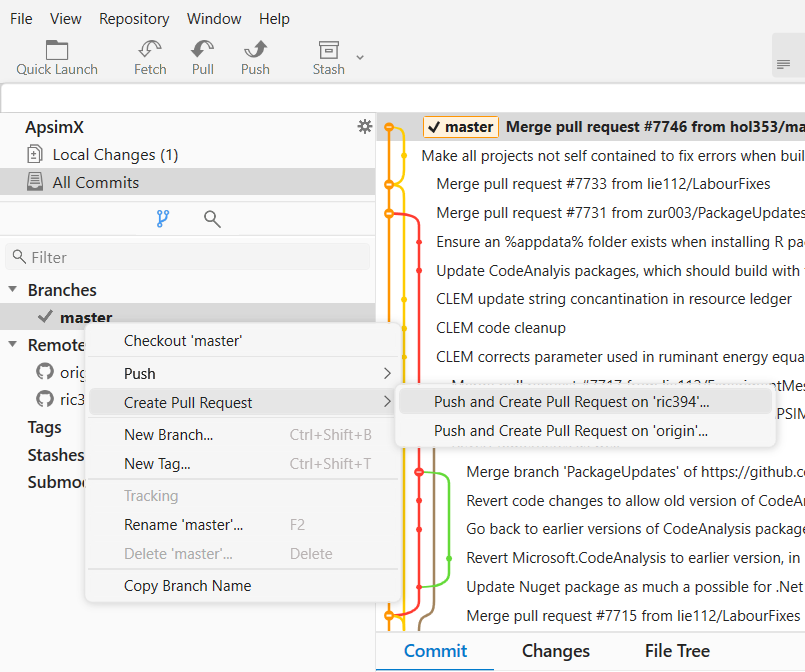
After pushing you need to create a pull request. Right click on your ‘master’ branch and choose create pull request:
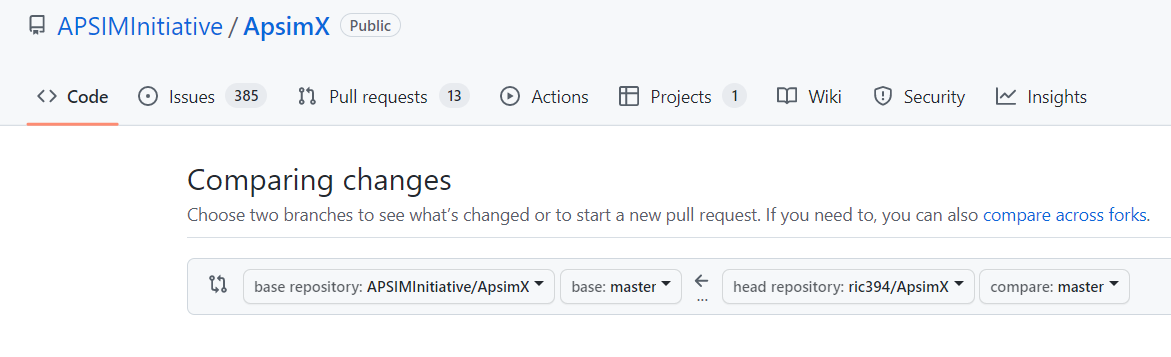
This will open a browser window where you need to enter a comment in the top comment box.
You can reference issue numbers here. Each pull request must contain a issue number.
For example, if this pull request resolves an issue, type:
resolves #1234However, if this pull request involves an issue but does not resolve the issue, type:
working on #1234
It is also good to add some extra comments in the top box that explain what is in the pull request e.g. New cotton validation data from site xyz.
Once done, click the ‘Create Pull Request’ button at the bottom of the browser window.
Once the PR has been created, everyone can see it automatically and a peer-review will be performed.
It will also automatically trigger a build and test of our test suite. If it is approved, it will be merged it into the main master branch and it will be made available to all users.
This looks complicated but once you’ve created a few pull requests you’ll get the hang of it.