Edit .apsimx files from command line
The –edit switch on Models.exe allows the user to edit an .apsimx file from the command line in a language-agnostic way. The syntax is:
/path/to/Models.exe <PathToApsimXFile> --edit <PathToConfigFile>
The first argument,
The –edit argument instructs APSIM to edit the .apsimx file before running it. The changed file is not saved to disk.
The argument immediately following –edit must be the path to a config file. The config file should contain zero or more lines of the form path = value.
The path should be the path to a model or property of a model in the .apsimx file. This can be a scoped or absolute path. An absolute path can be obtained by right-clicking on the model in the user interface and clicking “Copy path to node”. This will copy the path to the model, not to one of the model’s properties. For example:
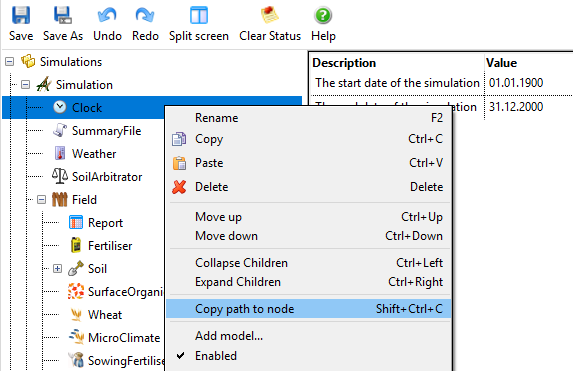
Clicking copy path to node will yield .Simulations.Simulation.Clock.
In general, model property names can be found in the Params/Inputs/Outputs documentation. In this case, if we want the simulation to start in 1901 instead of 1900 we could add this to the config file:
.Simulations.Simulation.Clock.StartDate = 1901-1-1
Property formatting
Dates
dd/MM/yyyy will not work. yyyy-MM-dd is the recommended format, but yyyy-mm-ddThh:mm:ss will work (APSIM will ignore the time component) as will MM/dd/yyyy. Anything else is use-at-your-own-risk.
Numbers
Decimal place should be a period (not a comma). Comma is allowed as thousands separator but isn’t mandatory.
Strings (text)
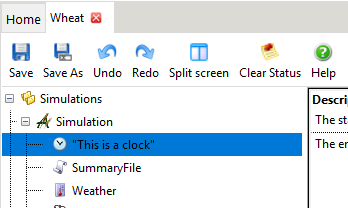
Quotes will be included in the value which is assigned to the property. For example, if you do this:
[Clock].Name = "This is a clock"
You will end up with this:
Arrays
Array or list properties should be specified as comma-separated values. It is also possible to modify an element at a particular index or indices of an array or list, but the indices start at 1. If modifying multiple elements, a second index can be provided after a colon, as in the example below.
For example this:
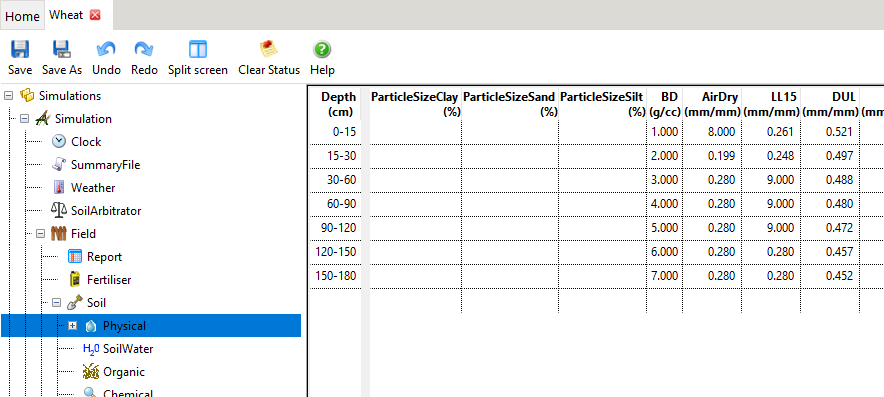
.Simulations.Simulation.Field.Soil.Physical.BD = 1,2,3,4,5,6,7
.Simulations.Simulation.Field.Soil.Physical.AirDry[1] = 8
.Simulations.Simulation.Field.Soil.Physical.LL15[3:5] = 9
Results in:
Replacing an entire model
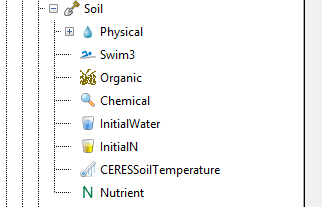
Instead of modifying one particular property, it is possible to replace an entire model. This requires that a second .apsimx file exists, which contains the model being used to perform the replacement. For example, if we wanted to replace the soil water model with the Swim3 model, we would need to create a separate .apsimx file containing Swim3 somewhere:

Then add something like this to the config file:
.Simulations.Simulation.Field.Soil.SoilWater = replace.apsimx;.Simulations.SoilWaterModels.Swim3
Here we see a new syntax. On the right-hand side are two values, separated by a semicolon. The first value is the path to an .apsimx file. The second part (after the semicolon) specifies the path to the model inside this .apsimx file which will be replacing the model specified on the left-hand side.
In this case, we are replacing the SoilWater model with the Swim3 model contained in replace.apsimx. This might be easier to read (although potentially less predictable) with scoped paths:
[SoilWater] = replace.apsimx;[Swim3]
Note that the path to the .apsimx file containing the replacement model (in this case, replace.apsimx) must be relative to the config file’s path.
Before: 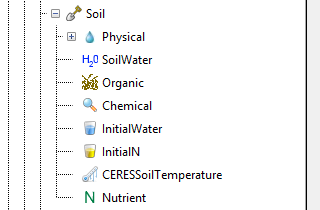
After: